
Ultrasonic vibrating screen mesh replacement is different from replacing the mesh on a standard vibrating screen. In addition to changing the screen mesh, you also need to pay attention to mesh tension, installation flatness, and ultrasonic vibration transmission. During equipment maintenance, we have found that many problems after mesh replacement are not caused by the new screen mesh itself, but by problems with the screen frame, mesh fixing, or installation details.
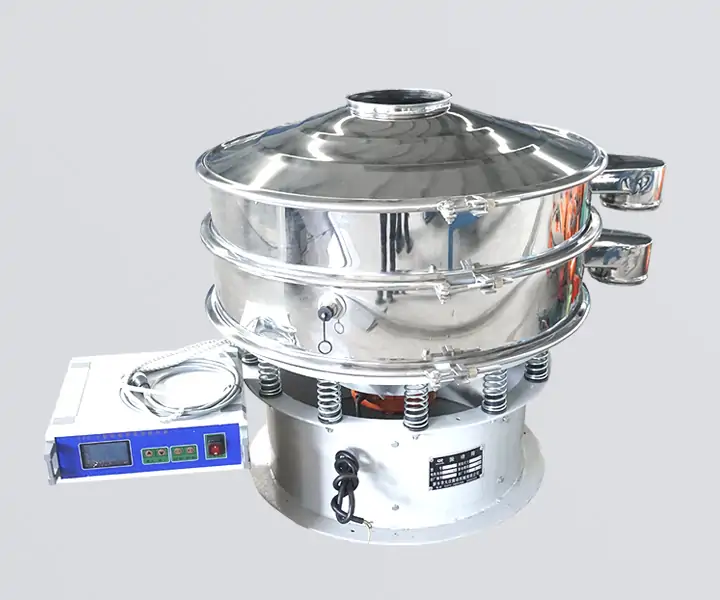
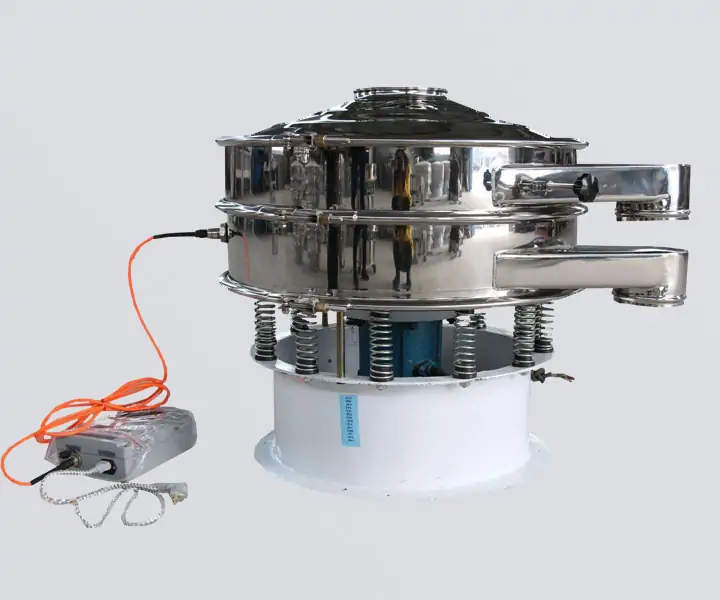
Below, I will go through the ultrasonic vibrating screen mesh replacement process step by step and point out a few details that are easy to overlook.
When Does an Ultrasonic Vibrating Screen Mesh Need Replacement?
Before starting an ultrasonic vibrating screen mesh replacement, first check whether the mesh really needs to be changed. Here are a few signs that it may be time for replacement:
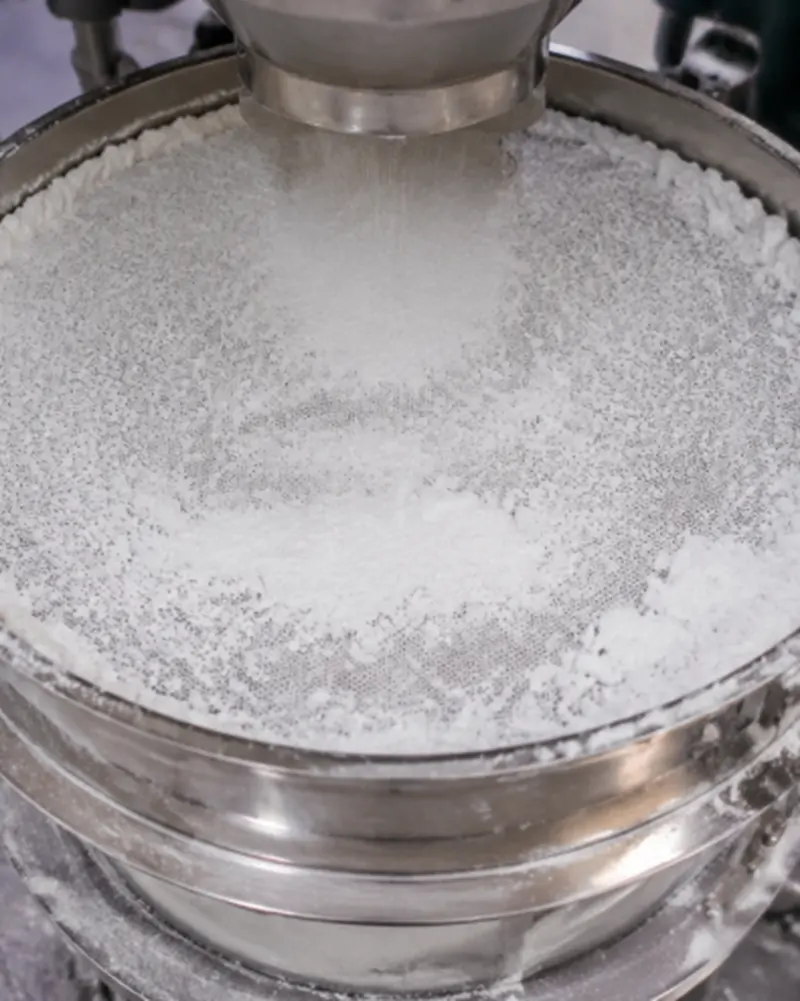

- Visible damage or holes — Damaged areas can affect screening accuracy and allow oversized material to pass through.
- Loose or deformed mesh — If the mesh is no longer flat or the tension is uneven, screening performance may become unstable.
- Material leakage — Check the mesh and bonding area if material is leaking from damaged or poorly fixed sections.
- Lower screening efficiency — If cleaning and normal adjustments do not improve performance, the mesh may be worn.
- Persistent blockage — If the mesh keeps blocking and cleaning no longer solves the problem, replacement may be necessary.
If the mesh needs to be replaced, you can then follow the steps below.
How to Replace an Ultrasonic Vibrating Screen Mesh?
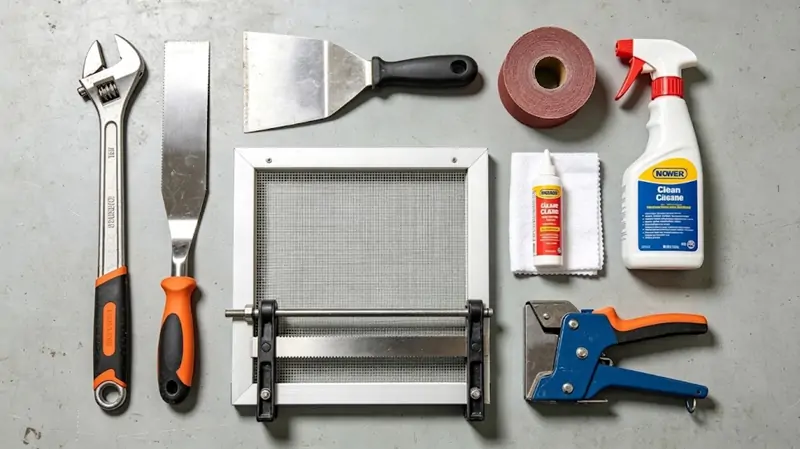
Step 1: Prepare the Tools:Before starting an ultrasonic vibrating screen mesh replacement, prepare the necessary tools. Common tools include wrenches, a scraper, sandpaper, acetone or cleaning agent, a clean soft cloth, special screen mesh adhesive, and a mesh cutting tool.
If the mesh is installed using a mesh stretching method, you will also need a mesh stretching tool. For fine mesh, we recommend using a mesh stretching tool because it makes it easier to control mesh tension and reduce loosening later.
Step 2: Remove the Old Screen Mesh:First, turn off the equipment, disconnect the ultrasonic connection cable, and then remove the screen frame and mesh frame.
When removing the old screen mesh, do not pull it off by force, especially if it is a bonded screen mesh, as this may damage the mesh frame. After removing the old mesh, check whether the mesh frame is deformed and whether there is any adhesive residue, wear, or other damage around the bonding area.
If there is a problem with the mesh frame itself, it should be repaired before installing the new screen mesh.
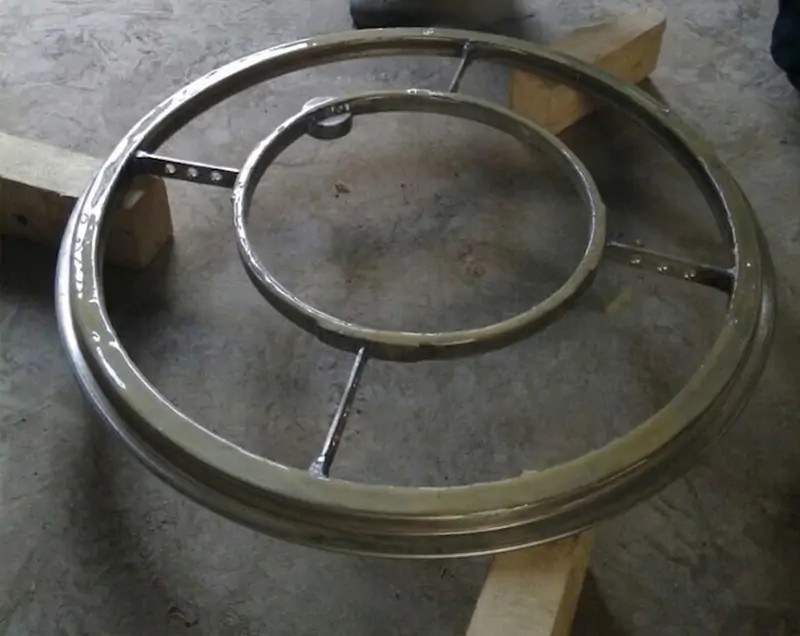
Step 3: Clean the Bonding Surface of the Mesh Frame:This is an important step in any ultrasonic vibrating screen mesh replacement. First, use a scraper to remove the old adhesive from the mesh frame. If the residue is difficult to remove, lightly treat the bonding area with sandpaper, then use acetone or a cleaning agent to remove dust and oil.
After cleaning, the bonding surface should be clean and flat, without obvious adhesive residue. Do not skip this step.Many cases of screen mesh loosening later are caused by an improperly cleaned bonding surface.
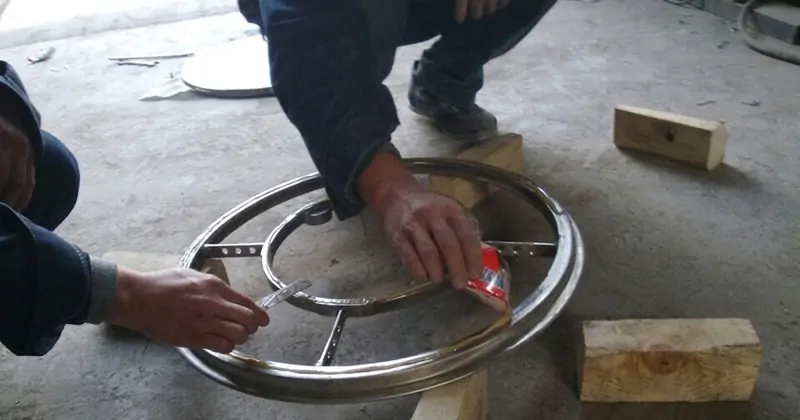
Step 4: Install the New Screen Mesh:If a mesh stretching tool is used, first place the screen mesh on the stretching ring and adjust its position. Then tighten the clamp so that the mesh stays flat and evenly tensioned.
Place the mesh frame above the screen mesh, apply special adhesive evenly to the bonding area between the mesh and the frame, and then press and secure it.Two details are easy to overlook during installation:
1.The screen mesh should not have obvious wrinkles after installation. The screening surface should remain flat.
2.The tension around the screen mesh should be even. One side should not be tight while the other side is loose, as this can affect screening performance and ultrasonic vibration transmission.
If a mesh stretching tool is not available, the mesh can also be installed by manually stretching it. During installation, gradually adjust the position of the screen mesh from all sides before fixing it with adhesive.
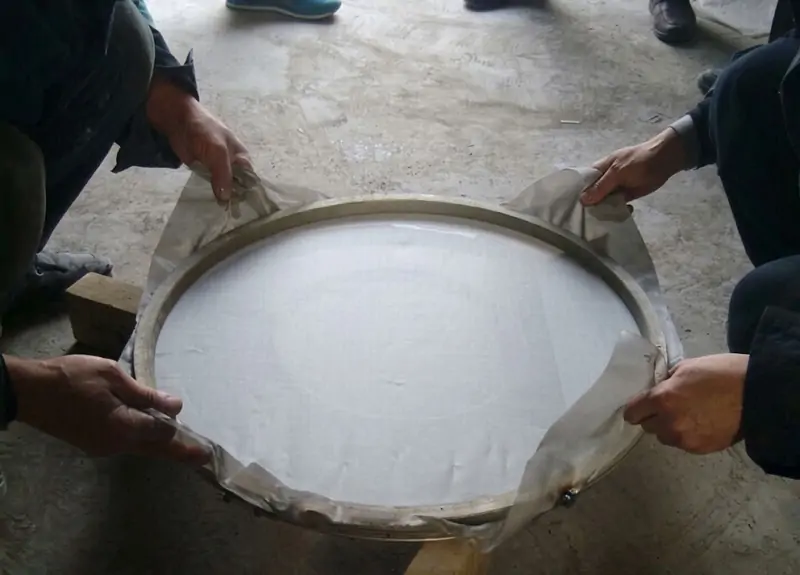
Step 5: Wait for the Adhesive to Cure:After the screen mesh is bonded, wait until the adhesive has fully cured before removing the fixing devices. The curing time depends on the type of adhesive and the ambient temperature. Do not start the equipment early just to save time. If the adhesive has not fully cured, the screen mesh can shift during operation.
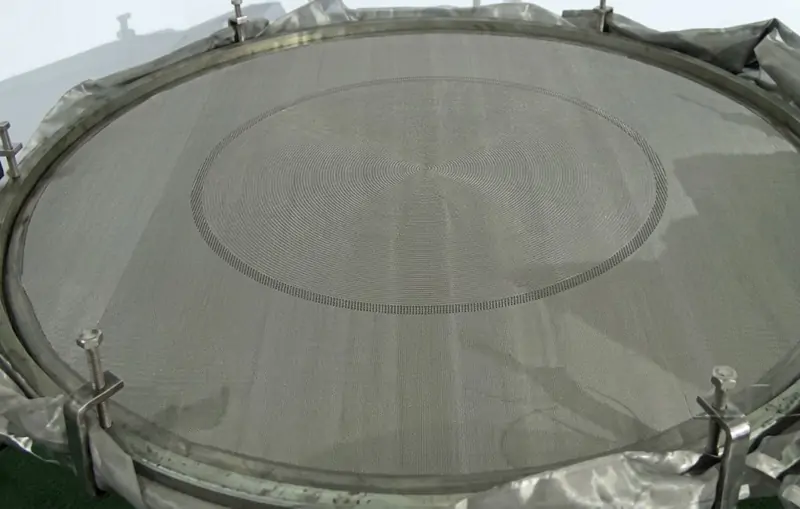
Step 6: Reinstall the Screen Frame:After confirming that the screen mesh and mesh frame are firmly connected, cut off the excess mesh and reinstall the mesh frame into the screen frame. When installing the clamp ring, tighten it evenly to avoid uneven force on the screen frame, which can affect equipment operation.
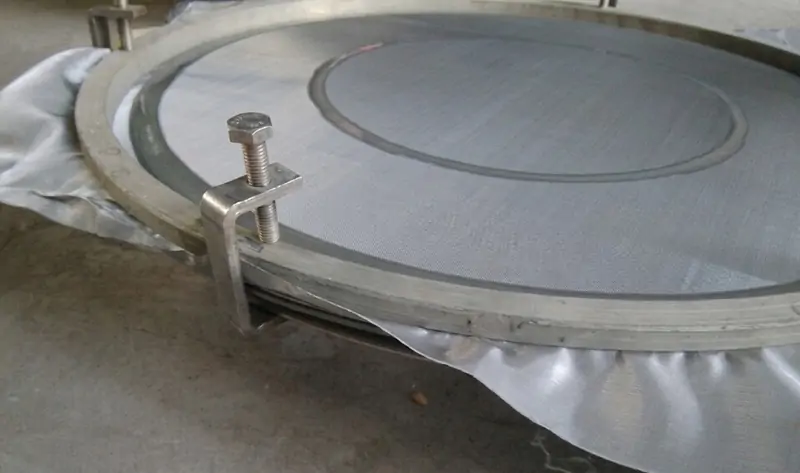
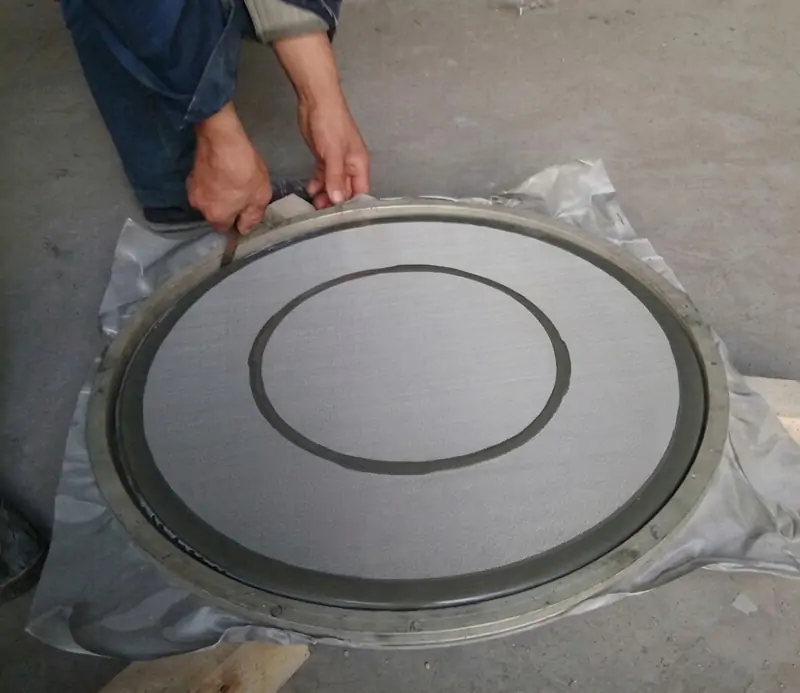
Step 7: Test the Equipment After Mesh Replacement:After the ultrasonic vibrating screen mesh replacement is complete, first run the equipment without material. Do not immediately start full-load production. Check the screen mesh, equipment vibration, and whether the ultrasonic system is working properly.If screening efficiency decreases, the ultrasonic effect becomes weaker, or the screen mesh becomes loose, check the mesh tension, bonding area, and ultrasonic connections.
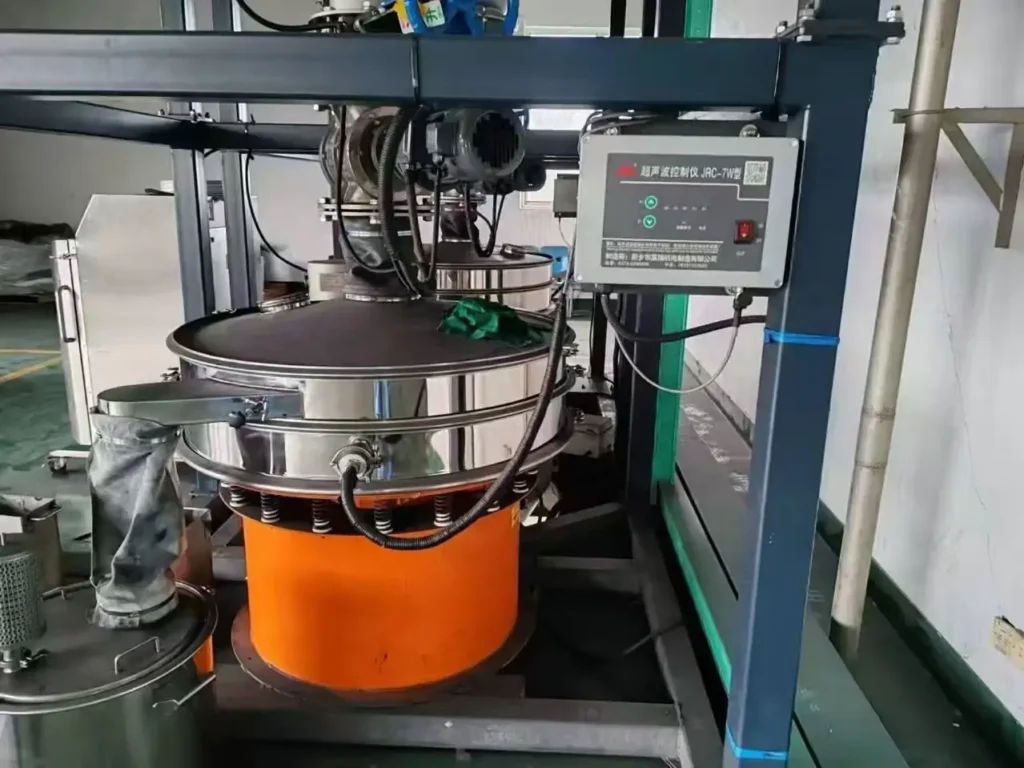
If you have any questions about ultrasonic vibrating screen mesh replacement or are not sure about a particular step, you can contact the Jiarui technical team for help.
What to Check After Ultrasonic Vibrating Screen Mesh Replacement
If the screen runs normally but the screening result is still poor after replacing the mesh, do not change the mesh again right away. Start with these four points.
- Is the Mesh Still Tight?The mesh should be flat and tight, without wrinkles. Press a few areas lightly with your hand. If one area feels loose while another is tight, adjust the mesh again. Uneven tension can reduce screening efficiency and weaken the ultrasonic effect.
- Is the Mesh Glued Properly?If the mesh starts coming loose after the machine has been running for a while, look at the glued area between the mesh and the frame. Old glue, dust, or oil can stop the new glue from holding properly. Clean the frame and fix the mesh again instead of simply adding more glue.
- Is the Ultrasonic System Working?If the ultrasonic effect becomes weaker after replacing the mesh, check the cable and connection points. These parts are usually disconnected during mesh replacement, so a loose connection is possible. The screen can still vibrate normally even when the ultrasonic system is not working properly.
- Is the New Mesh the Right One?If the installation looks fine but the screening result is still different, check the mesh size and opening size. Also think about whether the material has changed. A change in particle size or moisture can affect the result, even with the same equipment.